
Steps To Set Up The Planning Center Integration:
1. Sign in to your My Well account and navigate to the Admin Portal.
2. Select your organization's logo in the top right corner.
3. Select Integrations.
4. Select View & Edit under Planning Center.
5. Select Create in the box to the far left. .png?width=688&height=287&name=Image%20(1).png)
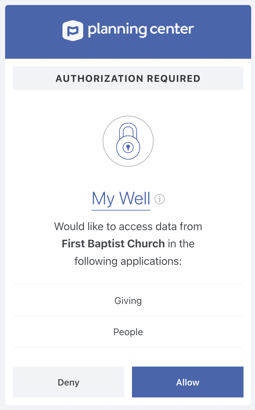
6. Select Sign In w/ Planning Center. This will lead you to the Planning Center website. The Planning Center account used to sign in needs to have People access and Giving access in Planning Center.
7. An authorization screen will appear. Select Allow.
8. Select View & Edit under Fund Sync. On this screen you can match the funds in your Planning Center account with those in the My Well Giving Platform. 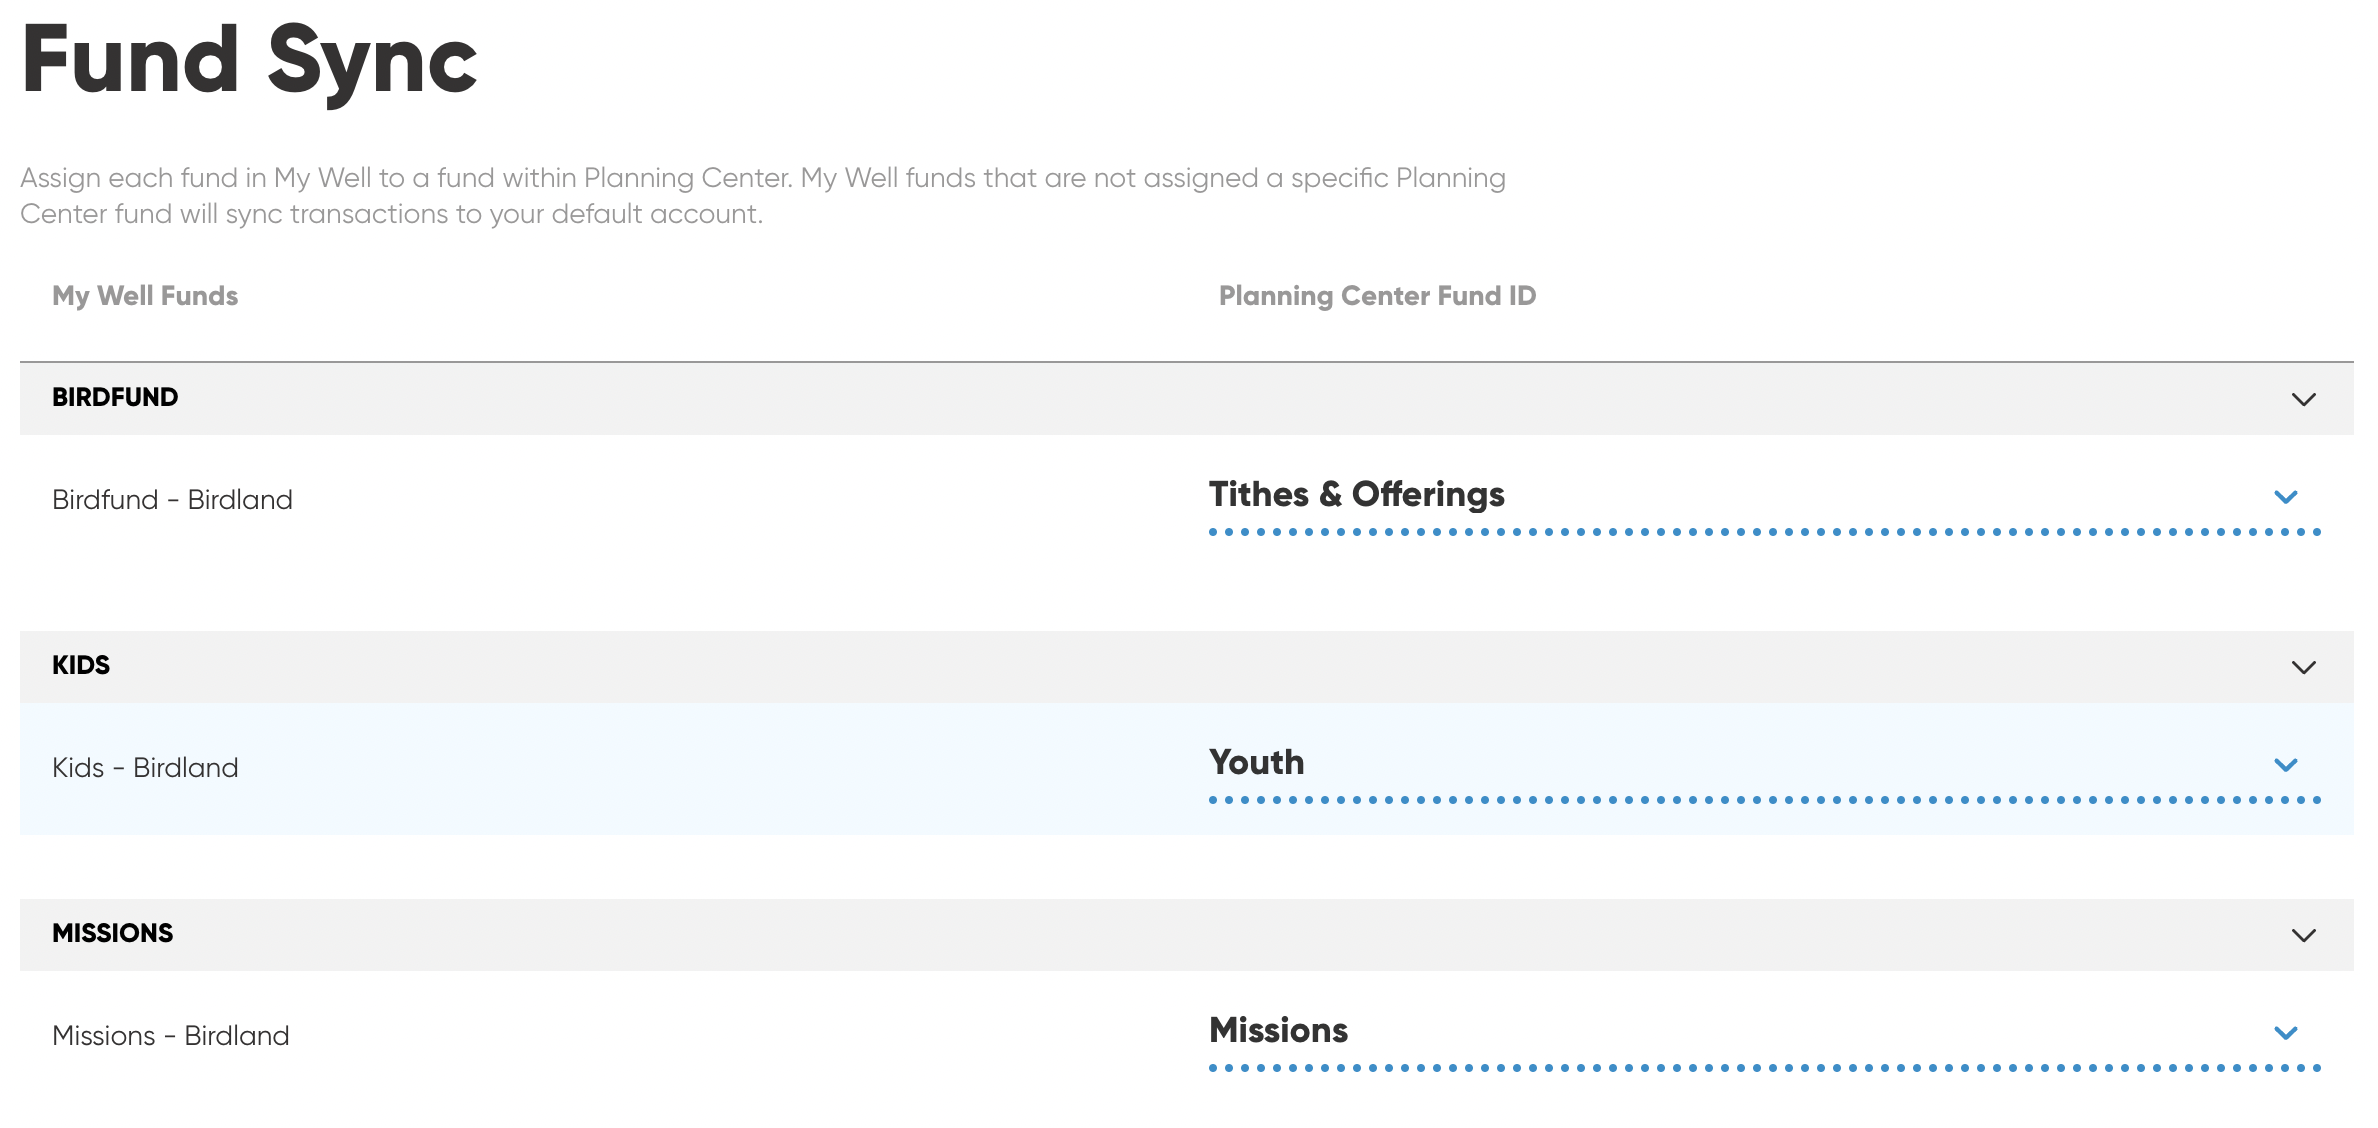
9. Select Save Changes at the bottom of the screen.
10. All three sections should have a blue checkmark. Then you can select Begin Syncing..png?width=688&height=317&name=Image-2%20(1).png)
11. Syncing is now active! If at any time you need to turn off the sync, simply select Stop Syncing. .png?width=688&height=322&name=Image-1%20(1).png)
12. The Sync Settings section contains additional settings to help you control what details sync from My Well into Planning Center. Click on View & Edit to manage these settings.

You can toggle on which details you would like to be updated in Planning Center from My Well, this includes Phone, Name, Email and Home Address. Additionally there is a field you can control called Commit Batch Automatically. This setting will determine whether a batch gets created in My Well in the Commited state or the In Progress state. We recommend commiting batches automatically to help your Planning Center batches match to your My Well batches.
Note: You must have Planning Center Giving and a Stripe account set up in order to set up the integration.
Pro Tip: To learn more about this integration, you can find our other articles here.